Building Your First WordPress Theme
If we have a WordPress website, we always want to make our website looks good. And when we didn’t find any theme that match with our taste, we can create a theme that fit with our vision for our website.
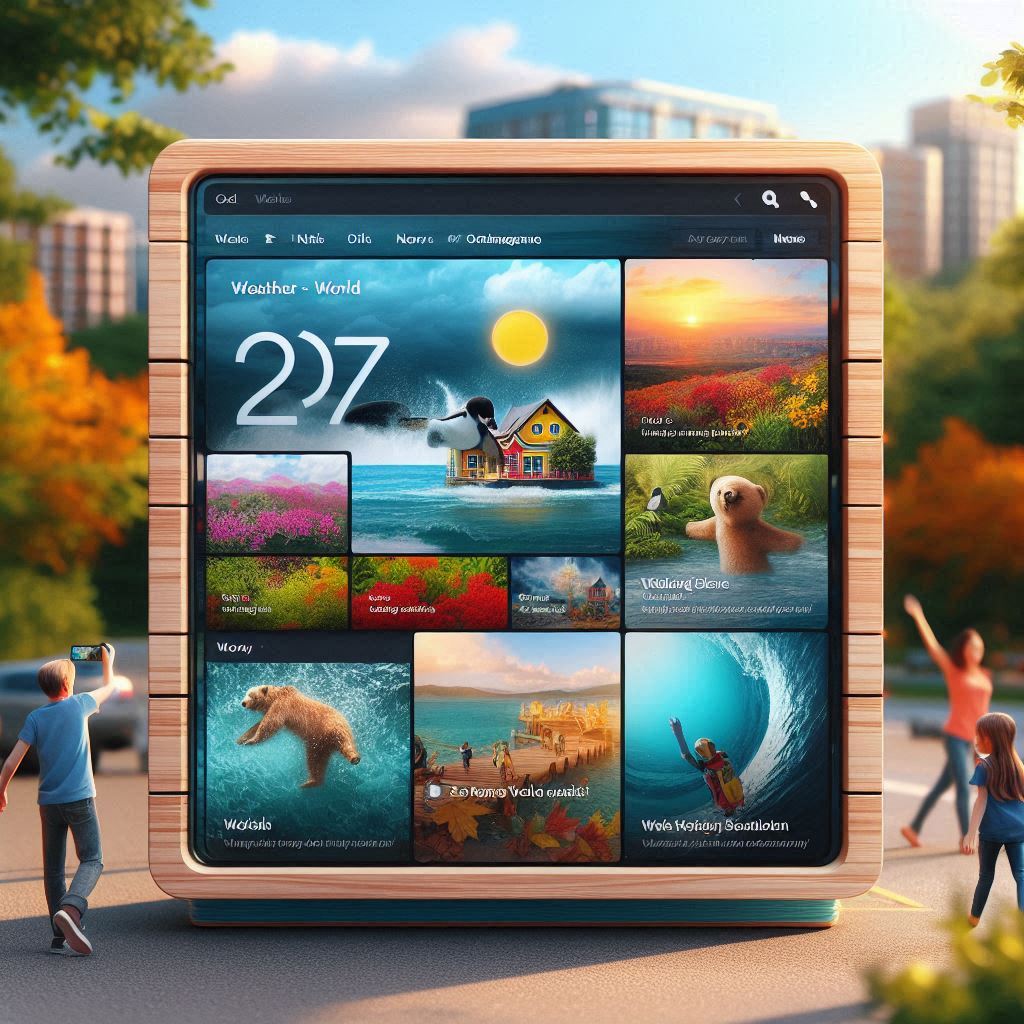
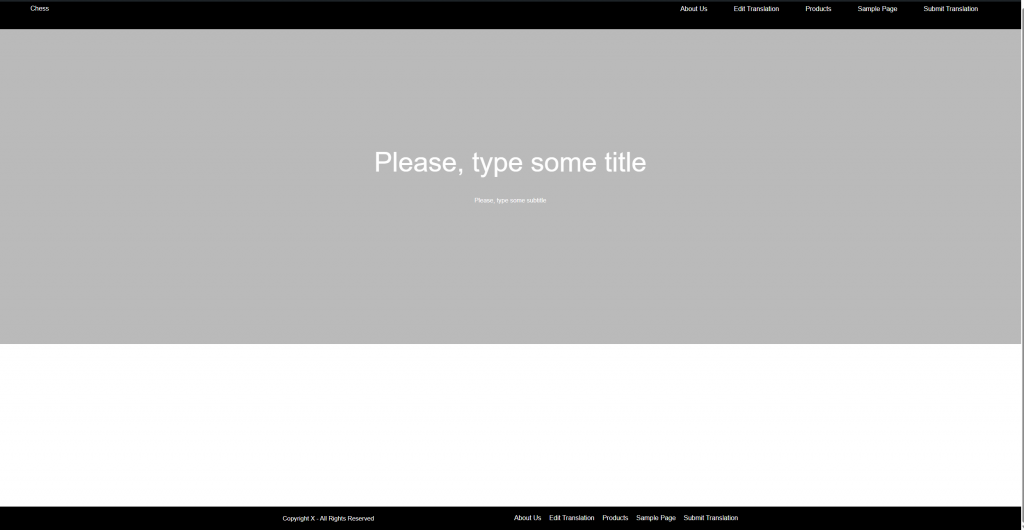
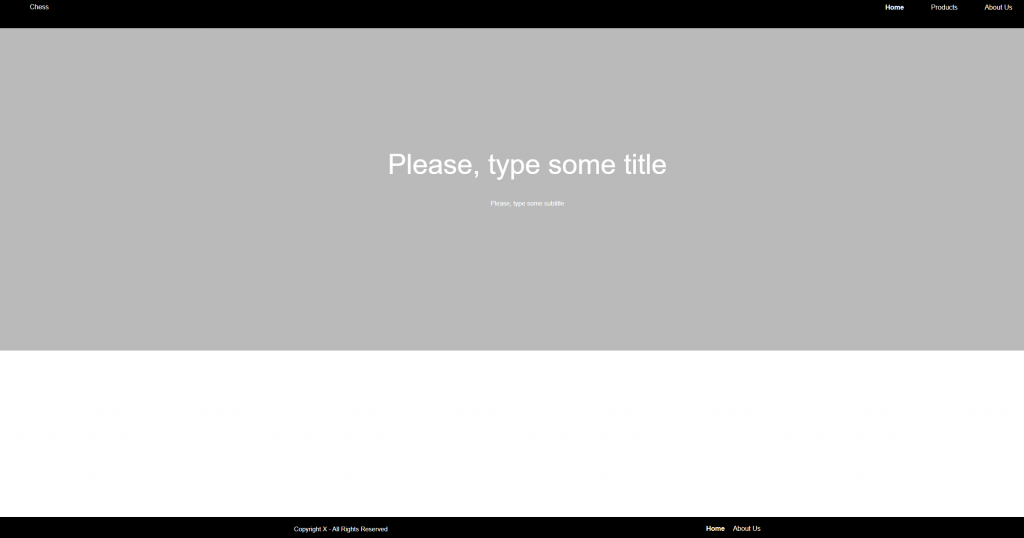
In this article, we’ll learn how to create a simple WordPress theme. The end product will be looks like this:
Then, let’s start!
Create Our Theme’s Directory
The first step is to create a directory on the path app/public/wp-content/themes. Since, I’ll name this theme as chess theme, the directory hierarchy will be like this:
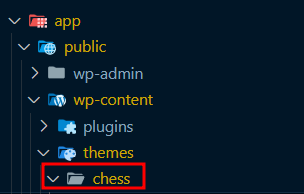
We will put our theme’s code on that directory.
Our Theme’s First Files
A functioning WordPress theme can consist of just two files: style.css and index.php. This is possible because of WordPress’s template hierarchy. So, let’s create these 2 files first.
Since we’ll not learn how to style our website, you can just get the CSS style.css file from here and paste to the chess directory to fastening our process.
And in the style.css file, we can see some commented information above the CSS styling codes like this:
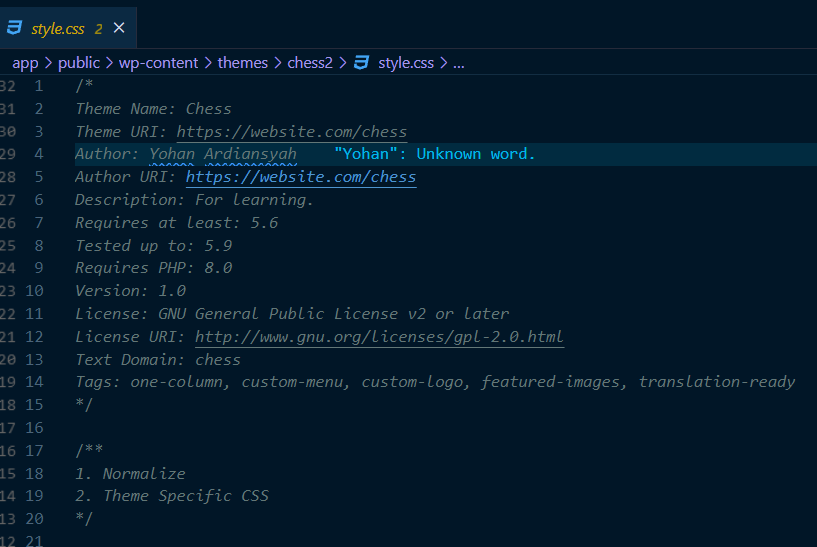
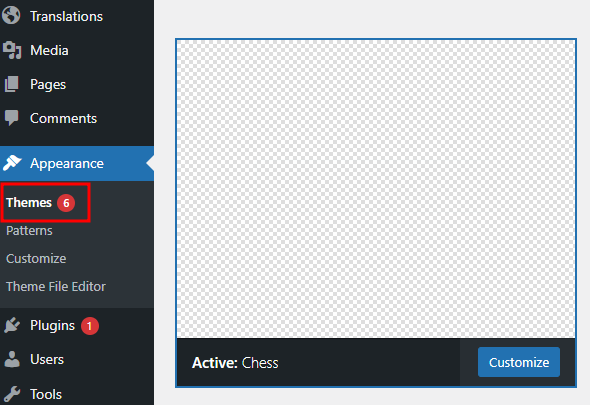
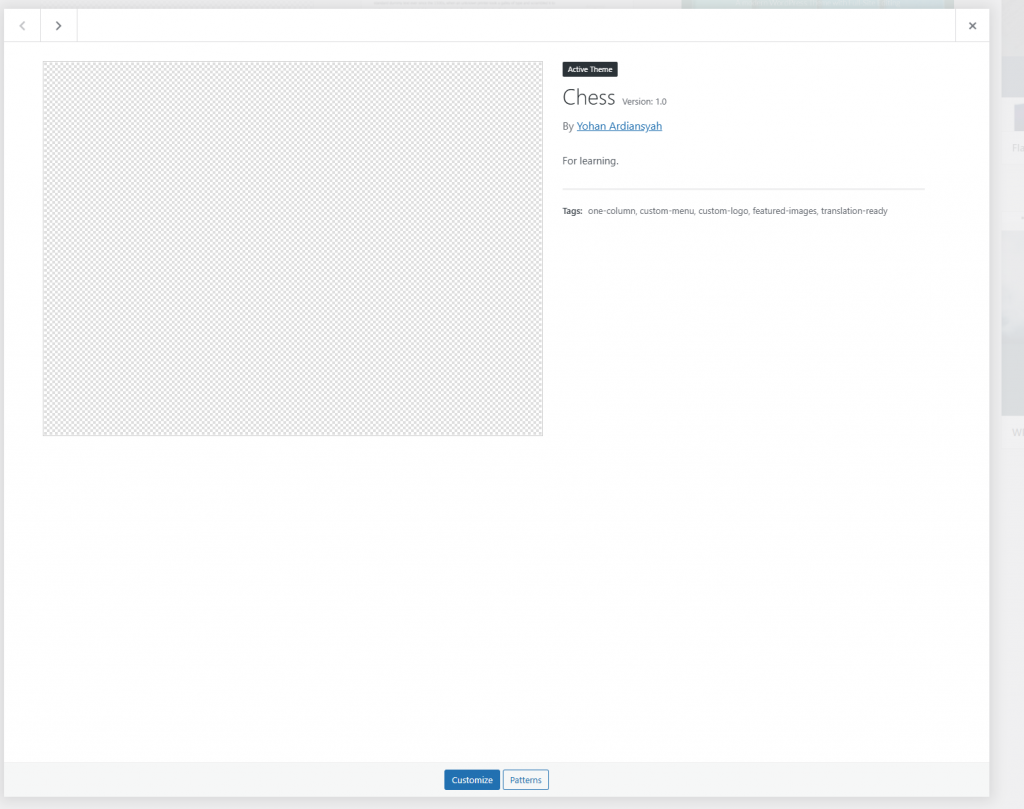
These information will be reflected when we open the Theme pages at our admin page:
And for the index.php file, let’s fill it with:
<!DOCTYPE html>
<html <?php language_attributes(); ?>>

<head>
  <meta charset="<?php bloginfo('charset'); ?>">
  <meta http-equiv="X-UA-Compatible" content="IE=edge">
  <meta name="viewport" content="width=device-width, initial-scale=1.0">
  <?php wp_head(); ?>
  <title>Learn WP Theme</title>
</head>

<body <?php body_class(); ?>>
  <?php wp_body_open(); ?>
  <div id="page" class="site">
    <header>
      <section class="top-bar">
        <div class="container left">
          <div class="logo">
            <a href="<?= esc_url(home_url('/')); ?>"><span><?php bloginfo('name'); ?></span></a>
          </div>
        </div>
        <div class="container right">
          <nav class="main-menu">
            <?php wp_nav_menu(array('theme_location' => 'chess_main_menu')); ?>
        </div>
      </section>
    </header>

    <div id="content" class="site-content">
      <div id="primary" class="content-area">
        <main id="main" class="site-main">
          <?php
          $hero_title = get_theme_mod('set_hero_title', __('Please, type some title', 'chess'));
          $hero_subtitle = get_theme_mod('set_hero_subtitle', __('Please, type some subtitle', 'chess'));
          $hero_height = get_theme_mod('set_hero_height', 800);
          $hero_background = wp_get_attachment_url(get_theme_mod('set_hero_background'));
          ?>
          <section class="hero" style="background-image: url('<?= esc_url($hero_background) ?>');">
            <div class="overlay" style="min-height: <?= esc_attr($hero_height) ?>px">
              <div class="container">
                <div class="hero-items">
                  <h1><?= esc_html($hero_title); ?></h1>
                  <p><?= nl2br(esc_html($hero_subtitle)); ?></p>
                </div>
              </div>
            </div>
          </section>
        </main>
      </div>
    </div>

    <footer class="site-footer">
      <div class="container">
        <div class="copyright">
          <p><?= esc_html(get_theme_mod('set_copyright', __('Copyright X - All Rights Reserved', 'chess'))); ?></p>
        </div>
        <nav class="footer-menu">
          <?php wp_nav_menu(array('theme_location' => 'chess_footer_menu', 'depth' => 1)); ?>
        </nav>
      </div>
    </footer>
  </div>
  <?php wp_footer(); ?>
</body>

</html>
There are functions like wp_footer and wp_head functions, also known as “action hooks”, are essential for most plugins, otherwise, they won’t work properly or at all. Plugins need these hooks in order to add proper code in your theme’s </head> or </footer> area.
And there’s body_class fuction that allows you to assign CSS classes to the body element. The HTML body tag normally begins in a theme’s header.php file, which loads on every page. This allows you to dynamically figure out which page a user is viewing and then add the CSS classes accordingly.
And for wp_body_open function, it allows developers to insert code directly after the opening body tag in a theme. This hook is useful for adding content or functionality that needs to be placed immediately after the opening body tag, such as analytics tracking codes, critical CSS styles, or JavaScript files.
bloginfo function will display information about the current site.
To be able show navigation menu that we want, we will use wp_nav_menu instead just throw all of our page to the navigation menu.
And lastly get_theme_mod function makes it easy to access customizations made by the user in the Customizer. It retrieves these theme options stored in the database, allowing you to change things like colors, fonts, and layout.
After we create those 2 files, our website still not apply our style.css files. We need to apply it with functions.php, let’s create the file and fill it with code like this:
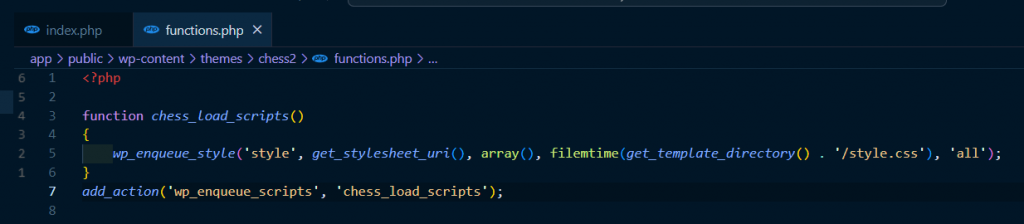
It will enqueue the CSS style file so it will be applied to our website pages.
And we can see our first view of our website will be like this:
Separate Header and Footer to Different Files
We will create another page aside from the index page, and of course we want to have the same header and footer. So, we will put them in separate files so we can reuse it at another page later.
Let’s create header.php file and fill it with code:
<!DOCTYPE html>
<html <?php language_attributes(); ?>>

<head>
  <meta charset="<?php bloginfo('charset'); ?>">
  <meta http-equiv="X-UA-Compatible" content="IE=edge">
  <meta name="viewport" content="width=device-width, initial-scale=1.0">
  <?php wp_head(); ?>
  <title>Learn WP Theme</title>
</head>

<body <?php body_class(); ?>>
  <?php wp_body_open(); ?>
  <div id="page" class="site">
    <header>
      <section class="top-bar">
        <div class="container left">
          <div class="logo">
            <a href="<?= esc_url(home_url('/')); ?>"><span><?php bloginfo('name'); ?></span></a>
          </div>
        </div>
        <div class="container right">
          <nav class="main-menu">
            <?php wp_nav_menu(array('theme_location' => 'chess_main_menu')); ?>
        </div>
      </section>
    </header>
And let’s create the footer.php file and fill it with:
<footer class="site-footer">
  <div class="container">
    <div class="copyright">
      <p><?= esc_html(get_theme_mod('set_copyright', __('Copyright X - All Rights Reserved', 'chess'))); ?></p>
    </div>
    <nav class="footer-menu">
      <?php wp_nav_menu(array('theme_location' => 'chess_footer_menu', 'depth' => 1)); ?>
    </nav>
  </div>
</footer>
</div>
<?php wp_footer(); ?>
</body>

</html>
And let’s modify the index.php so we can use the code on the header.php and footer.php instead write to the file directly. The code at index.php will be like this:
<?php get_header(); ?>

<div id="content" class="site-content">
  <div id="primary" class="content-area">
    <main id="main" class="site-main">
      <?php
      $hero_title = get_theme_mod('set_hero_title', __('Please, type some title', 'chess'));
      $hero_subtitle = get_theme_mod('set_hero_subtitle', __('Please, type some subtitle', 'chess'));
      $hero_height = get_theme_mod('set_hero_height', 800);
      $hero_background = wp_get_attachment_url(get_theme_mod('set_hero_background'));
      ?>
      <section class="hero" style="background-image: url('<?= esc_url($hero_background) ?>');">
        <div class="overlay" style="min-height: <?= esc_attr($hero_height) ?>px">
          <div class="container">
            <div class="hero-items">
              <h1><?= esc_html($hero_title); ?></h1>
              <p><?= nl2br(esc_html($hero_subtitle)); ?></p>
            </div>
          </div>
        </div>
      </section>
    </main>
  </div>
</div>
<?php get_footer(); ?>
And if we open our website page, it shouldn’t be different from before.
Create Customizer Menu for index.php File
We already see get_theme_mod function is called few times at index.php. But it still doesn’t have any value aside from the default value that we set at the beginning. So, let’s create customizer menu for those values.
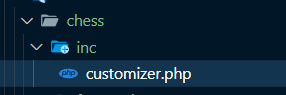
We will create a file named customizer.php inside inc directory at our theme’s directory like this:
And let’s fill it with code:
<?php

function  chess_customizer($wp_customize)
{
    // 1 Copyright Section
    $wp_customize->add_section(
        'sec_copyright',
        array(
            'title' => __('Copyright Settings', 'chess'),
            'description' => __('Copyright Settings', 'chess')
        )
    );

    $wp_customize->add_setting(
        'set_copyright',
        array(
            'type' => 'theme_mod',
            'default' => __('Copyright X - All Rights Reserved', 'chess'),
            'sanitize_callback' => 'sanitize_text_field'
        )
    );

    $wp_customize->add_control(
        'set_copyright',
        array(
            'label' => __('Copyright Information', 'chess'),
            'description' => __('Please, type your copyright here', 'chess'),
            'section' => 'sec_copyright',
            'type' => 'text'
        )
    );

    // 2 Hero
    $wp_customize->add_section(
        'sec_hero',
        array(
            'title' => __('Hero Section', 'chess')
        )
    );

    // Title
    $wp_customize->add_setting(
        'set_hero_title',
        array(
            'type' => 'theme_mod',
            'default' => __('Please, add some title', 'chess'),
            'sanitize_callback' => 'sanitize_text_field'
        )
    );

    $wp_customize->add_control(
        'set_hero_title',
        array(
            'label' => __('Hero Title', 'chess'),
            'description' => __('Please, type your here title here', 'chess'),
            'section' => 'sec_hero',
            'type' => 'text'
        )
    );

    // Subtitle
    $wp_customize->add_setting(
        'set_hero_subtitle',
        array(
            'type' => 'theme_mod',
            'default' => __('Please, add some subtitle', 'chess'),
            'sanitize_callback' => 'sanitize_textarea_field'
        )
    );

    $wp_customize->add_control(
        'set_hero_subtitle',
        array(
            'label' => __('Hero Subtitle', 'chess'),
            'description' => __('Please, type your subtitle here', 'chess'),
            'section' => 'sec_hero',
            'type' => 'textarea'
        )
    );

    // Hero Height
    $wp_customize->add_setting(
        'set_hero_height',
        array(
            'type' => 'theme_mod',
            'default' => 800,
            'sanitize_callback' => 'absint'
        )
    );

    $wp_customize->add_control(
        'set_hero_height',
        array(
            'label' => __('Hero height', 'chess'),
            'description' => __('Please, type your hero height', 'chess'),
            'section' => 'sec_hero',
            'type' => 'number'
        )
    );

    // Hero Background
    $wp_customize->add_setting(
        'set_hero_background',
        array(
            'type' => 'theme_mod',
            'sanitize_callback' => 'absint'
        )
    );

    $wp_customize->add_control(new WP_Customize_Media_Control(
        $wp_customize,
        'set_hero_background',
        array(
            'label' => __('Hero Image', 'chess'),
            'section'   => 'sec_hero',
            'mime_type' => 'image'
        )
    ));
}

add_action('customize_register', 'chess_customizer');
We can see the flow of the function call will be like this: the add_section (it will add section especially for a menu that we created) -> add_setting (it will handle live-previewing, saving, and sanitization of your customizer objects) -> add_control (it will generate a custom control). Each control that you register needs to have a matching setting. And after that we need to add the function to action hook customize_register.
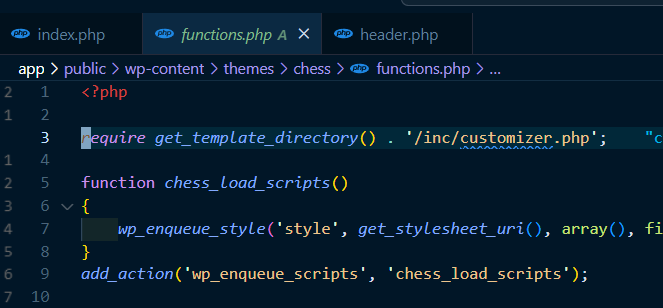
And lastly, we need to add reference to this file to functions.php like this:
<?php

require get_template_directory() . '/inc/customizer.php';

.
.
.
If we open customize page at our WordPress website, we can see new section will be added:

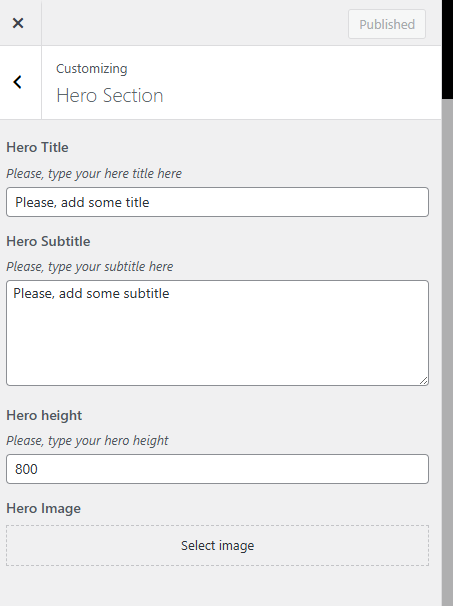
If we open Hero Section menu, we can see the control that we defined before:
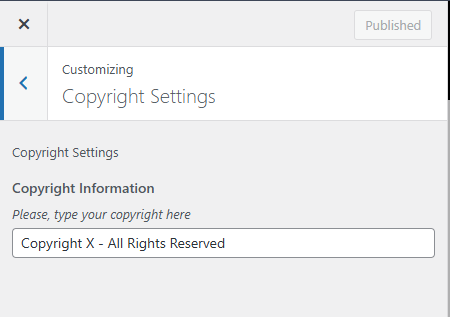
And for the Copyright Settings menu:
You can try to change the value of the menu as you like, and it will be applied to our index page.
Arrange the Menu on Header and Footer
Currently, the menu that appears at our header and footer is random. So, we need to rearrange the only menu that we want to show to our user.
Because we don’t have the page Products and About Us yet, we need to create it first. We just need to create an empty page for both of them.

And let’s create menus to accommodate menu for header and footer and put the pages that we’ve created before to the menu. Also don’t forget to checklist the display location of respective menus.
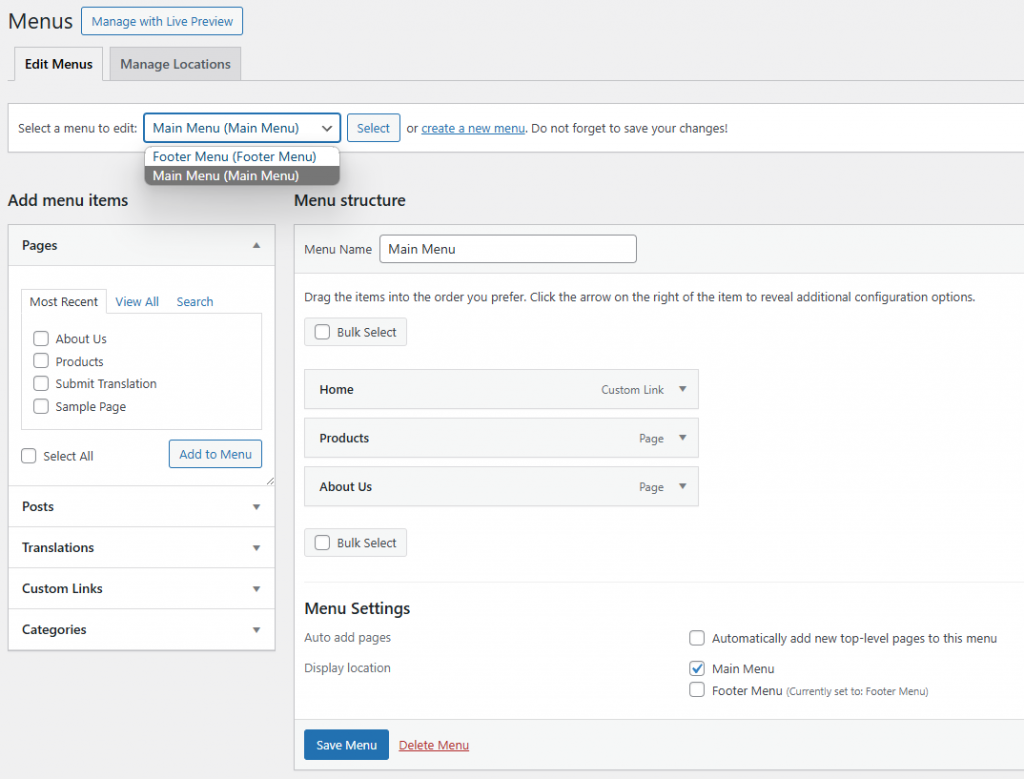
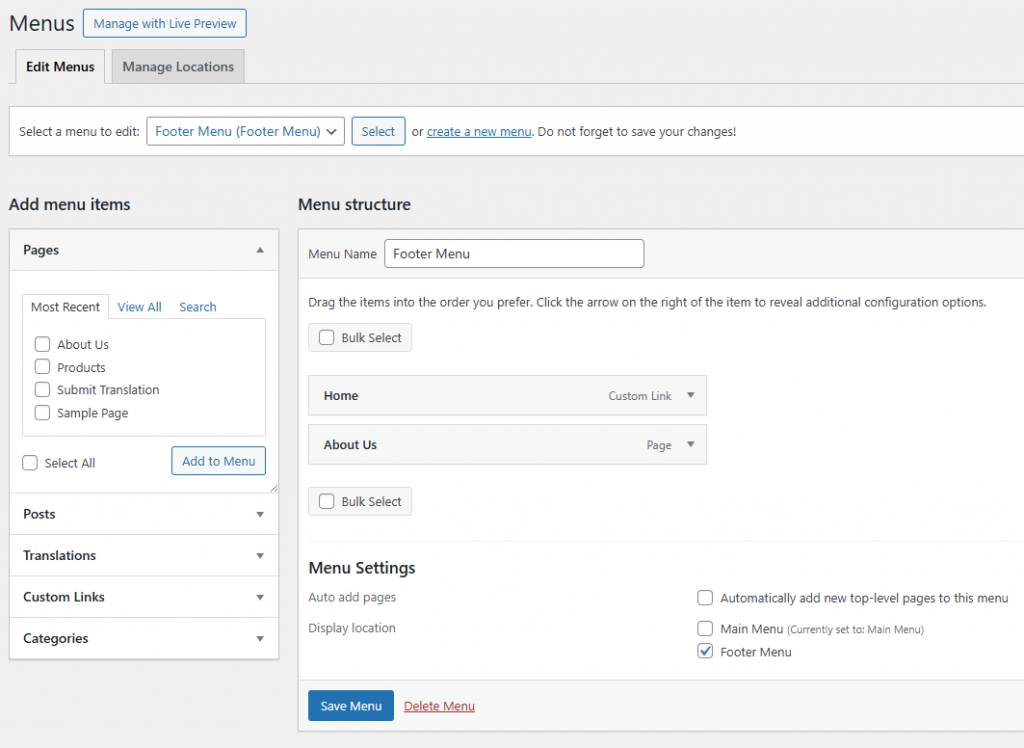
And now we can see that our page showing the menu that we want at the header and footer.
Page Template Hierarchy
Before we create code Products and About Us page, let’s learn about page template hierarchy on the WordPress. When a person browses to your website, WordPress selects which template to use for rendering that page. And the hierarchy order is like this:
- Page Template — If the page has a custom template assigned, WordPress looks for that file and, if found, uses it.
page-{slug}.php— If no custom template has been assigned, WordPress looks for and uses a specialized template that contains the page’s slug.page-{id}.php— If a specialized template that includes the page’s slug is not found, WordPress looks for and uses a specialized template named with the page’s ID.page.php— If a specialized template that includes the page’s ID is not found, WordPress looks for and uses the theme’s default page template.singular.php— Ifpage.phpis not found, WordPress looks for and uses the theme’s template used for a single post, irregardless of post type.-
index.php— If no specific page templates are assigned or found, WordPress defaults back to using the theme’s index file to render pages.
In this tutorial, we’ll using page-{slug}.php as our way to custom our page with code.
Customize About Us Page
Let’s create About Us page template first. You can create the file page-about-us.php first like this:
And let’s fill the file with code like this:
<?php get_header(); ?>
<div id="content" class="site-content">
    <div id="primary" class="content-area">
        <main id="main" class="site-main">
            <?php
            $about_us_title = get_theme_mod('set_about_us_title', __('Please, type some title', 'chess'));
            $about_us_content = get_theme_mod('set_about_us_content', __('Please, type some content', 'chess'));
            ?>
            <div class="about-us">
                <h1><?= esc_html($about_us_title) ?></h1>
                <p><?= esc_html($about_us_content) ?></p>
            </div>
        </main>
    </div>
</div>
<?php get_footer(); ?>
And we can see some customizer needed. So, let’s add it to customizer.php like this:
<?php

function  chess_customizer($wp_customize)
{

.
.
.

    // About Us
    $wp_customize->add_section(
        'sec_about_us',
        array(
            'title' => __('About Us Section', 'chess')
        )
    );

    // Title
    $wp_customize->add_setting(
        'set_about_us_title',
        array(
            'type' => 'theme_mod',
            'default' => __('Please, add some title', 'chess'),
            'sanitize_callback' => 'sanitize_text_field'
        )
    );

    $wp_customize->add_control(
        'set_about_us_title',
        array(
            'label' => __('About Us Title', 'chess'),
            'description' => __('Please, type your here title here', 'chess'),
            'section' => 'sec_about_us',
            'type' => 'text'
        )
    );

    // Content
    $wp_customize->add_setting(
        'set_about_us_content',
        array(
            'type' => 'theme_mod',
            'default' => __('Please, add some content', 'chess'),
            'sanitize_callback' => 'sanitize_text_field'
        )
    );

    $wp_customize->add_control(
        'set_about_us_content',
        array(
            'label' => __('About Us Content', 'chess'),
            'description' => __('Please, type your here content here', 'chess'),
            'section' => 'sec_about_us',
            'type' => 'textarea'
        )
    );
}

.
.
.
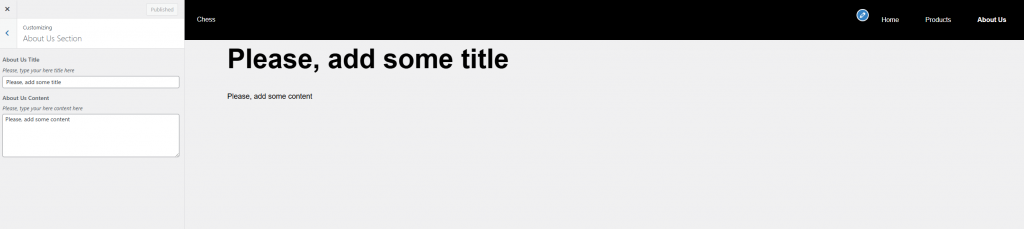
And now we can see the About Us page will display the input that we insert to our newly created customizer menu.
Customize Products Page
Now, for the final part of our tutorial, we’re going to customize our Product‘s page. Like what we had done with the About Us page, we will create a file named page-products.php.
And let’s fill it with code:
<?php get_header(); ?>
<div id="content" class="site-content">
  <div id="primary" class="content-area">
    <main id="main" class="site-main">
      <div class="container" id="products">
        <?php
        $args = array(
          'post_type' => 'post',
          'posts_per_page' => 10,
          'category_name'  => 'product',
        );

        $postlist = new WP_Query($args);
        $odd = true;

        if ($postlist->have_posts()) {
          while ($postlist->have_posts()) {
            $postlist->the_post();
        ?>
            <article>
              <?php
              if ($odd) {
              ?>
                <div class="image-block article-block">
                  <?php if (has_post_thumbnail()) : ?>
                    <a href="<?php the_permalink(); ?>"><?php the_post_thumbnail(array(750, 750)); ?></a>
                  <?php endif; ?>
                </div>
                <div class="info-block article-block">
                  <div class="info">
                    <h2><a href="<?php the_permalink(); ?>"><?php the_title(); ?></a></h2>
                    <?php the_excerpt(); ?>
                  </div>
                </div>
              <?php
              } else {
              ?>
                <div class="info-block article-block">
                  <div class="info">
                    <h2><a href="<?php the_permalink(); ?>"><?php the_title(); ?></a></h2>
                    <?php the_excerpt(); ?>
                  </div>
                </div>
                <div class="image-block article-block">
                  <?php if (has_post_thumbnail()) : ?>
                    <a href="<?php the_permalink(); ?>"><?php the_post_thumbnail(array(750, 750)); ?></a>
                  <?php endif; ?>
                </div>
              <?php
              }
              ?>
            </article>
          <?php
            $odd = !$odd;
          }
          wp_reset_postdata();
        } else { ?>
          <h2><?php esc_html_e('Please wait for our new product soon!', 'chess') ?></h2>
        <?php } ?>
      </div>
    </main>
  </div>
</div>
<?php get_footer(); ?>
At those codes, we can see that we will query the post with product category. Then we will show the post thumbnail, title, link, and the excerpt of our post.
And for the thumbnail, we need to enable theme support post-thumbnails at functions.php like this:
<?php

.
.
.

function chess_config()
{

.
.
.
    add_theme_support('post-thumbnails');
}
add_action('after_setup_theme', 'chess_config', 0);
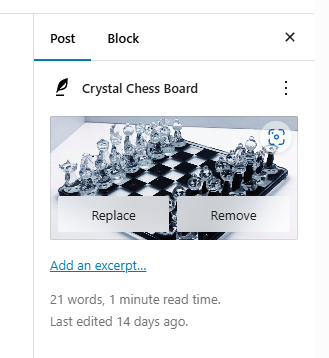
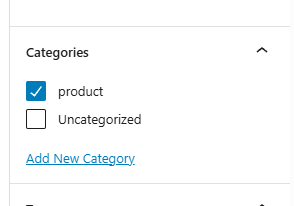
After we apply that, we can see input for our post thumbnail when we create/edit our post:
Then you can create some post with product category and add thumbnail to the post. And you can see the final result yourselves.
Final
Well, when we create our theme before, we leave some input empty. You can fill them with you own image/text preferences.
And for the full code, you can check it here kuuhaku86/chess-wordpress-theme (github.com).
Thank you, and happy coding!